

Overview
Migma’s onboarding takes you from a fresh signup to your first AI-generated, on-brand email in four steps. Plan on about 5–10 minutes end to end.1
Sign up at migma.ai
Create your account.
2
Import a brand
Pull your logo, colors, and fonts from your website.
3
Set up your brand guidelines
Connect past emails so the AI learns your voice and style.
4
Generate your first email
Describe what you want and let Migma draft it on brand.
Step 1 — Sign up at migma.ai
Head to migma.ai and create an account.1
Visit migma.ai
Click Get started in the top-right of migma.ai.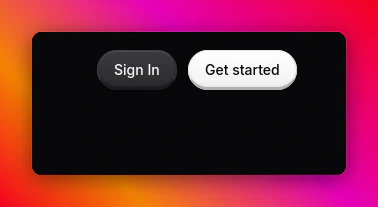
2
Sign up with email, Google, or SSO
Continue with Google for the fastest path, or use email + password.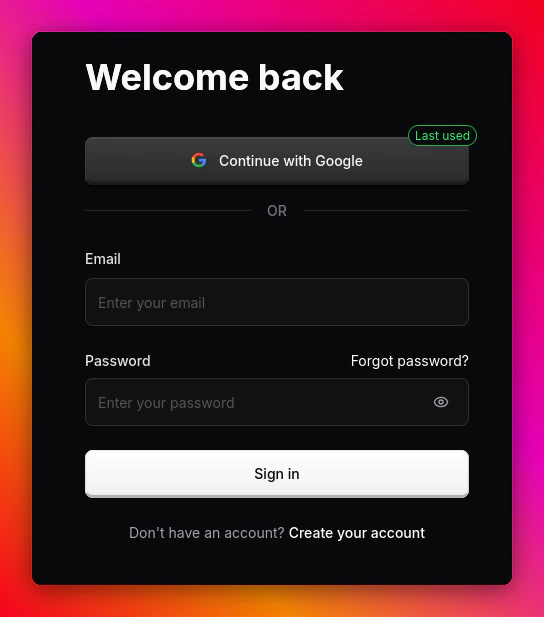
3
Verify your account
Once you’re in, your profile appears in the top-right with your plan and usage.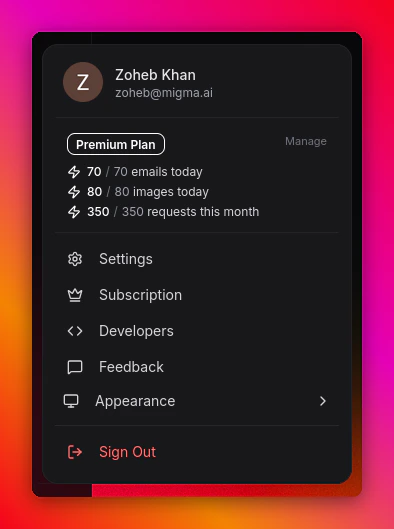
Step 2 — Import a brand
Migma auto-extracts your visual identity from your website so every email looks on brand from the first draft.1
Open the brand panel
From the sidebar, open My Brands and click + New Brand.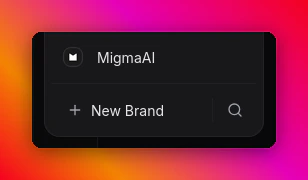
2
Enter your website URL
Paste your homepage URL — Migma auto-imports your logos, images, colors, and fonts.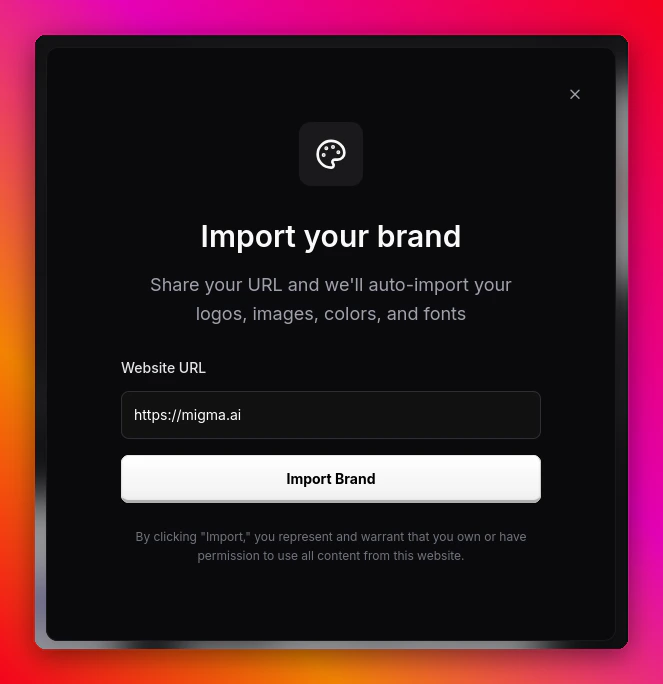
3
Review colors & styling
Inspect the extracted color themes and tweak roundness, typography, and other styling.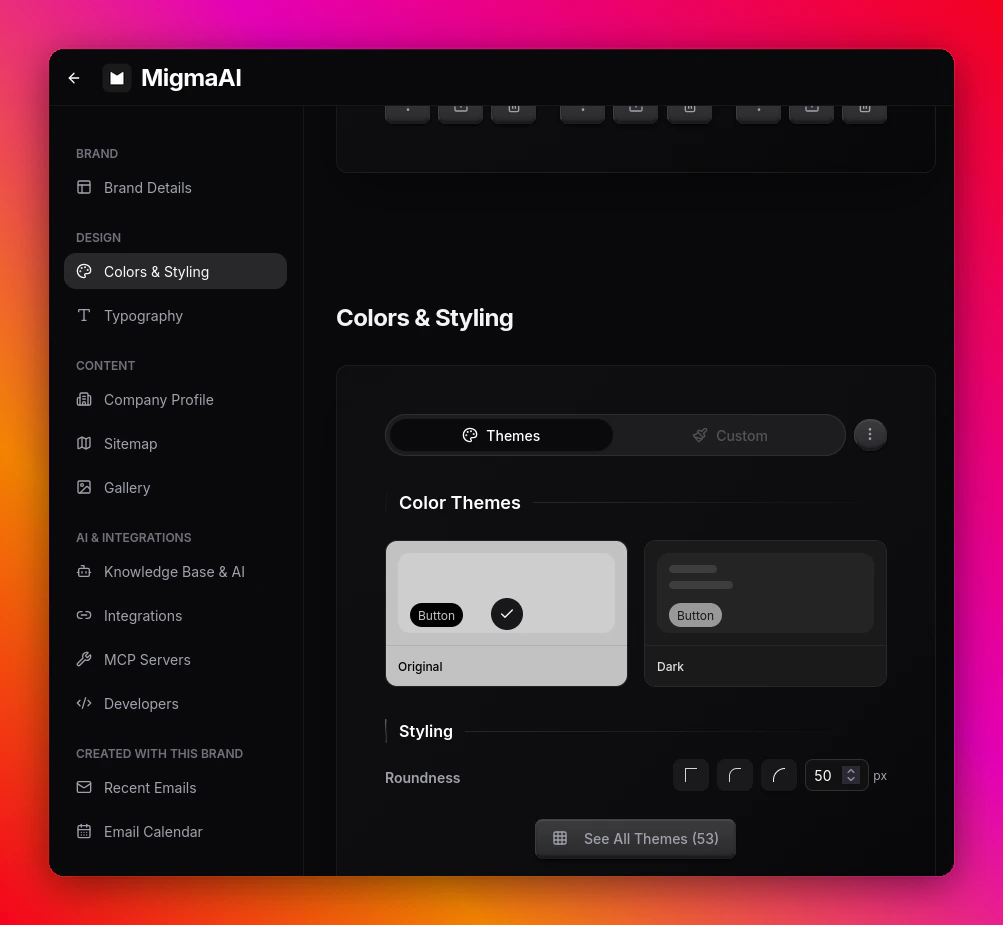
4
Confirm logos and save
Verify your primary logo, secondary logo, and favicon look right, then save your Brand Kit.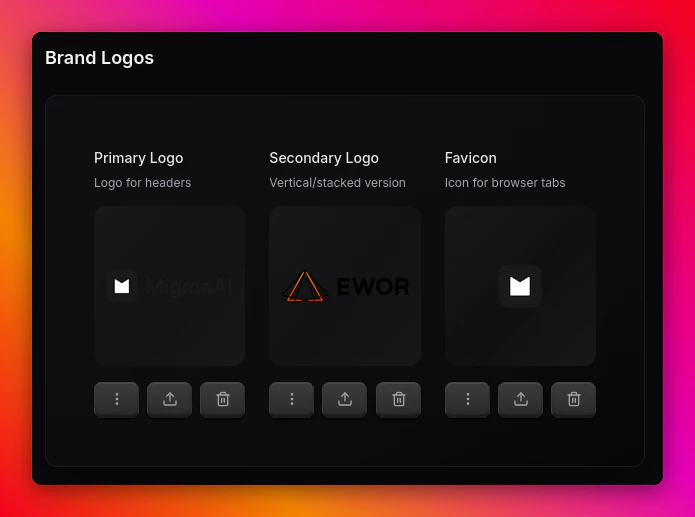
Step 3 — Set up your brand guidelines
Brand guidelines are how Migma learns about you — your past emails, product details, and reference material. Feeding it gives the AI context so generated emails match your existing voice instead of sounding generic.1
Open Brand Guidelines
Under Content, open Brand Guidelines to add reference material. Tone-of-voice instructions live in the separate AI Instructions section.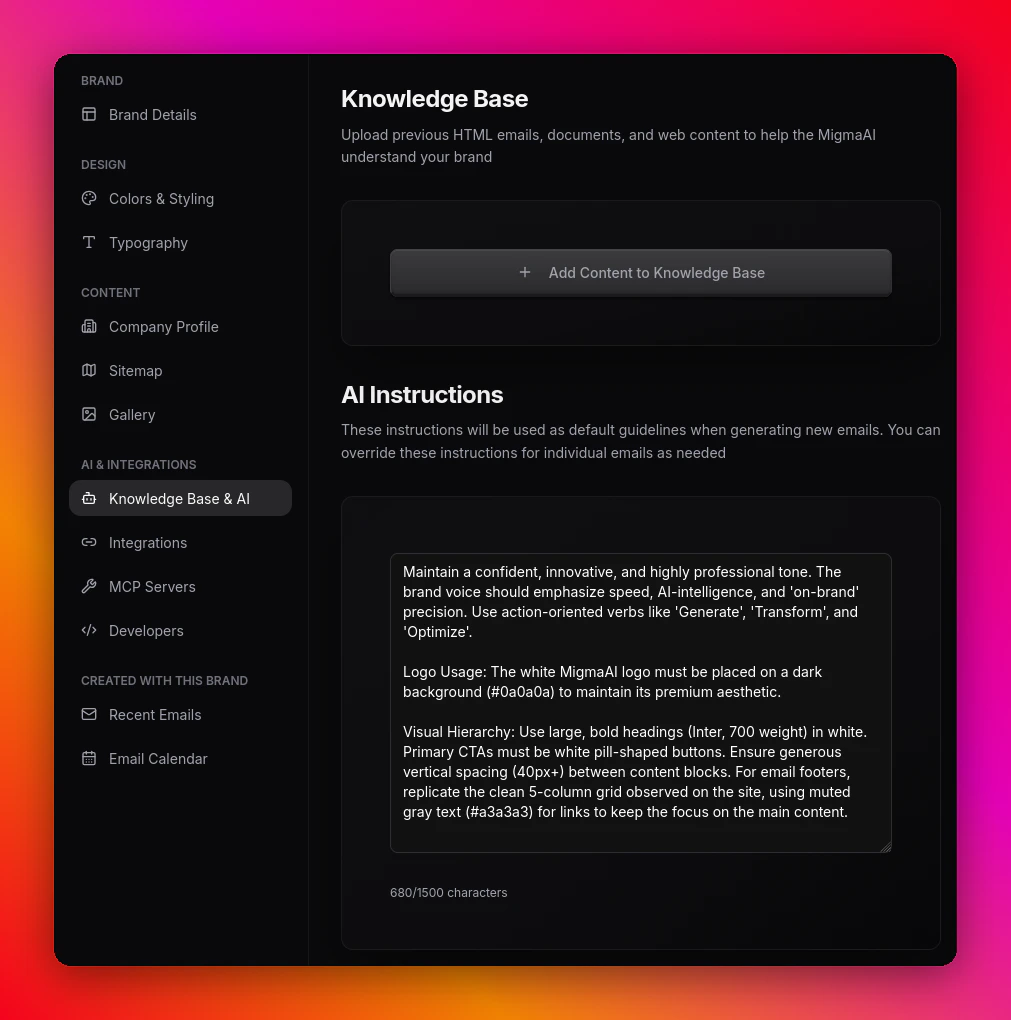
2
Add an entry
Click Add Content and paste a past email, brief, or any reference. Plain text, HTML, and Markdown all work — or drop a file.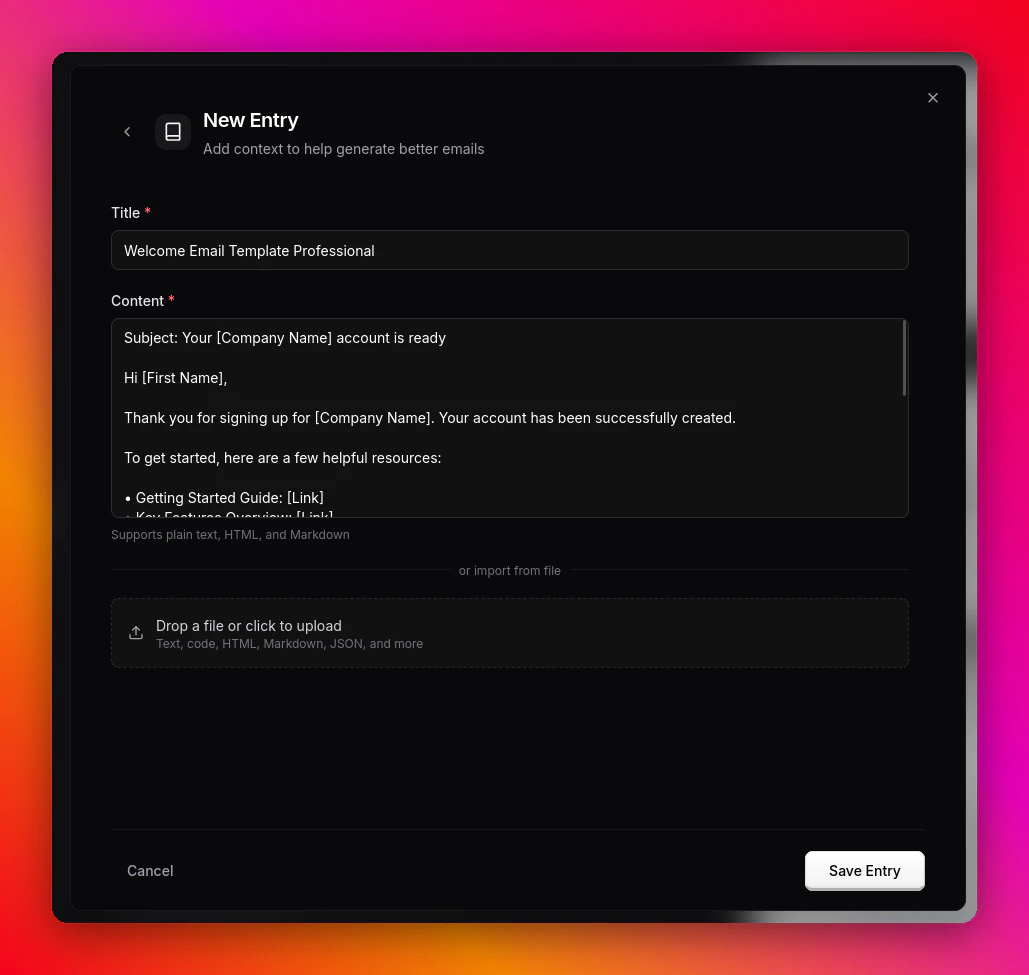
3
Build up your library
Repeat for a handful of representative emails and notes. The richer the library, the closer your first generated draft will be to your usual style.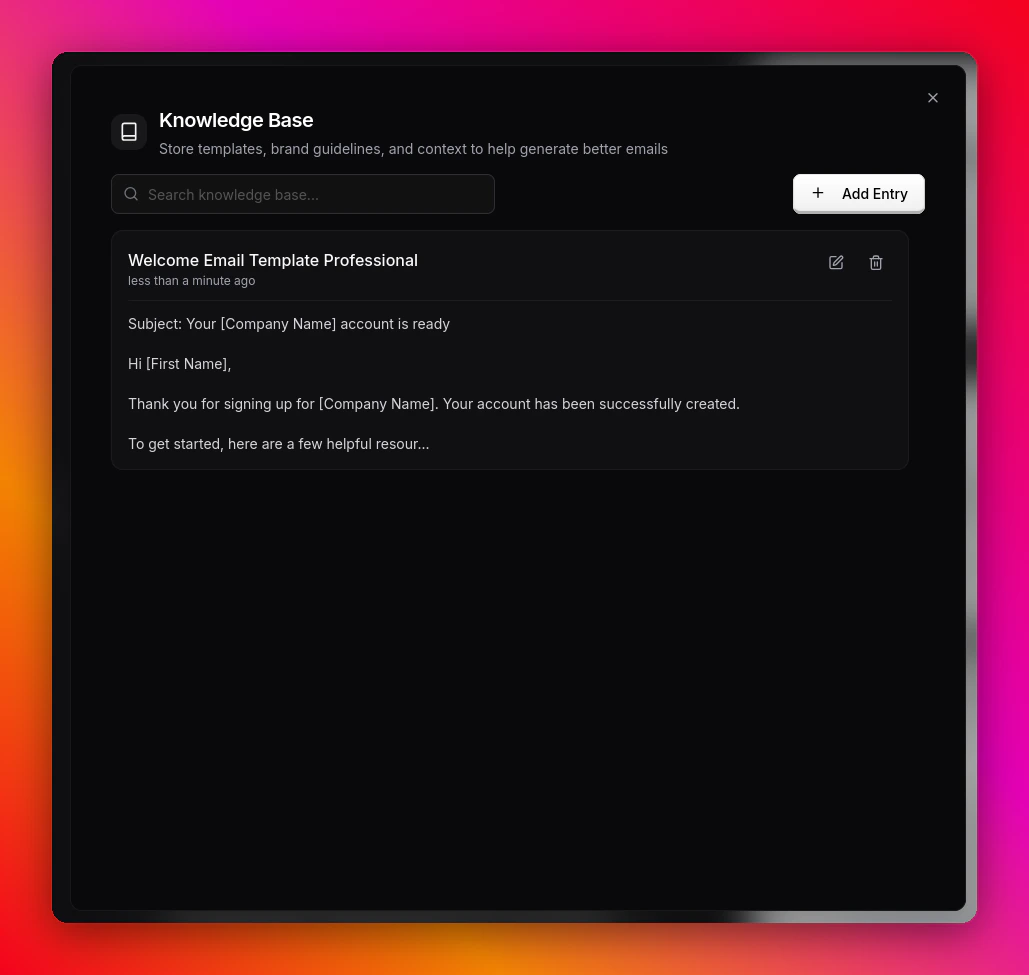
The more representative content you add, the closer the first draft will be to your usual style.
Step 4 — Generate your first email
With your brand and guidelines in place, you’re ready to create.1
Start a new email
From the sidebar, click New Email.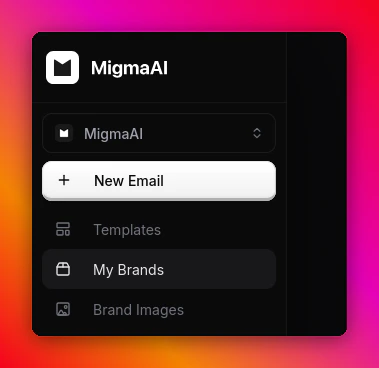
2
Describe what you want
Prompt naturally — e.g. “Launch announcement for our new pricing page, friendly tone, single CTA.” You can also clone a screenshot or import from Figma/HTML.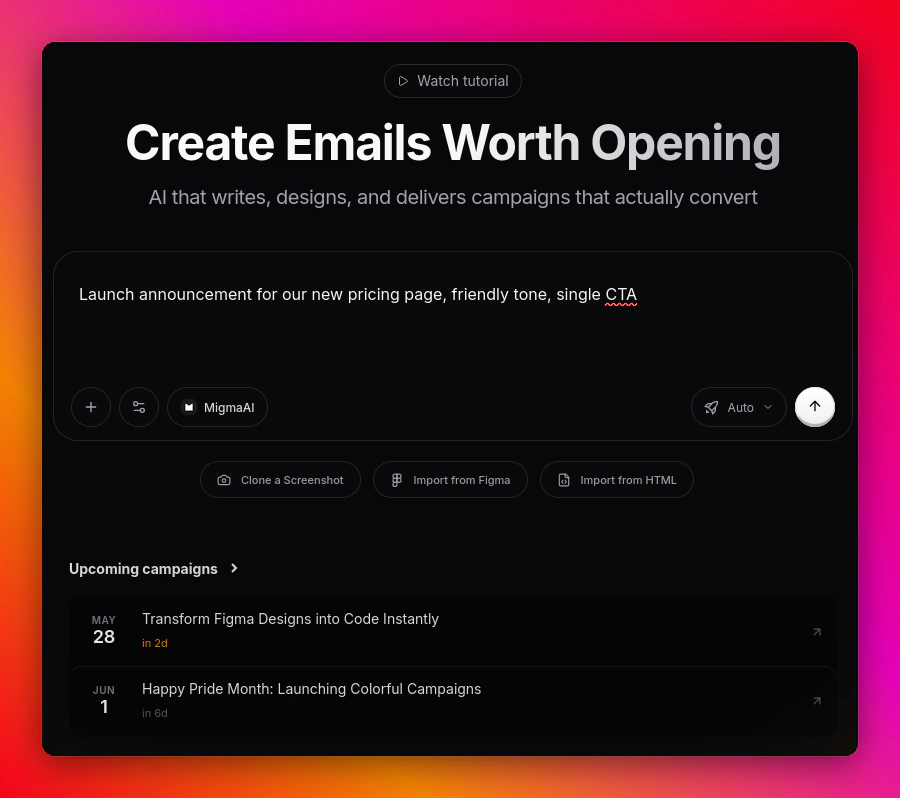
3
Review and refine
Migma drafts using your Brand Kit and Brand Guidelines. Iterate inline until it’s ready to send.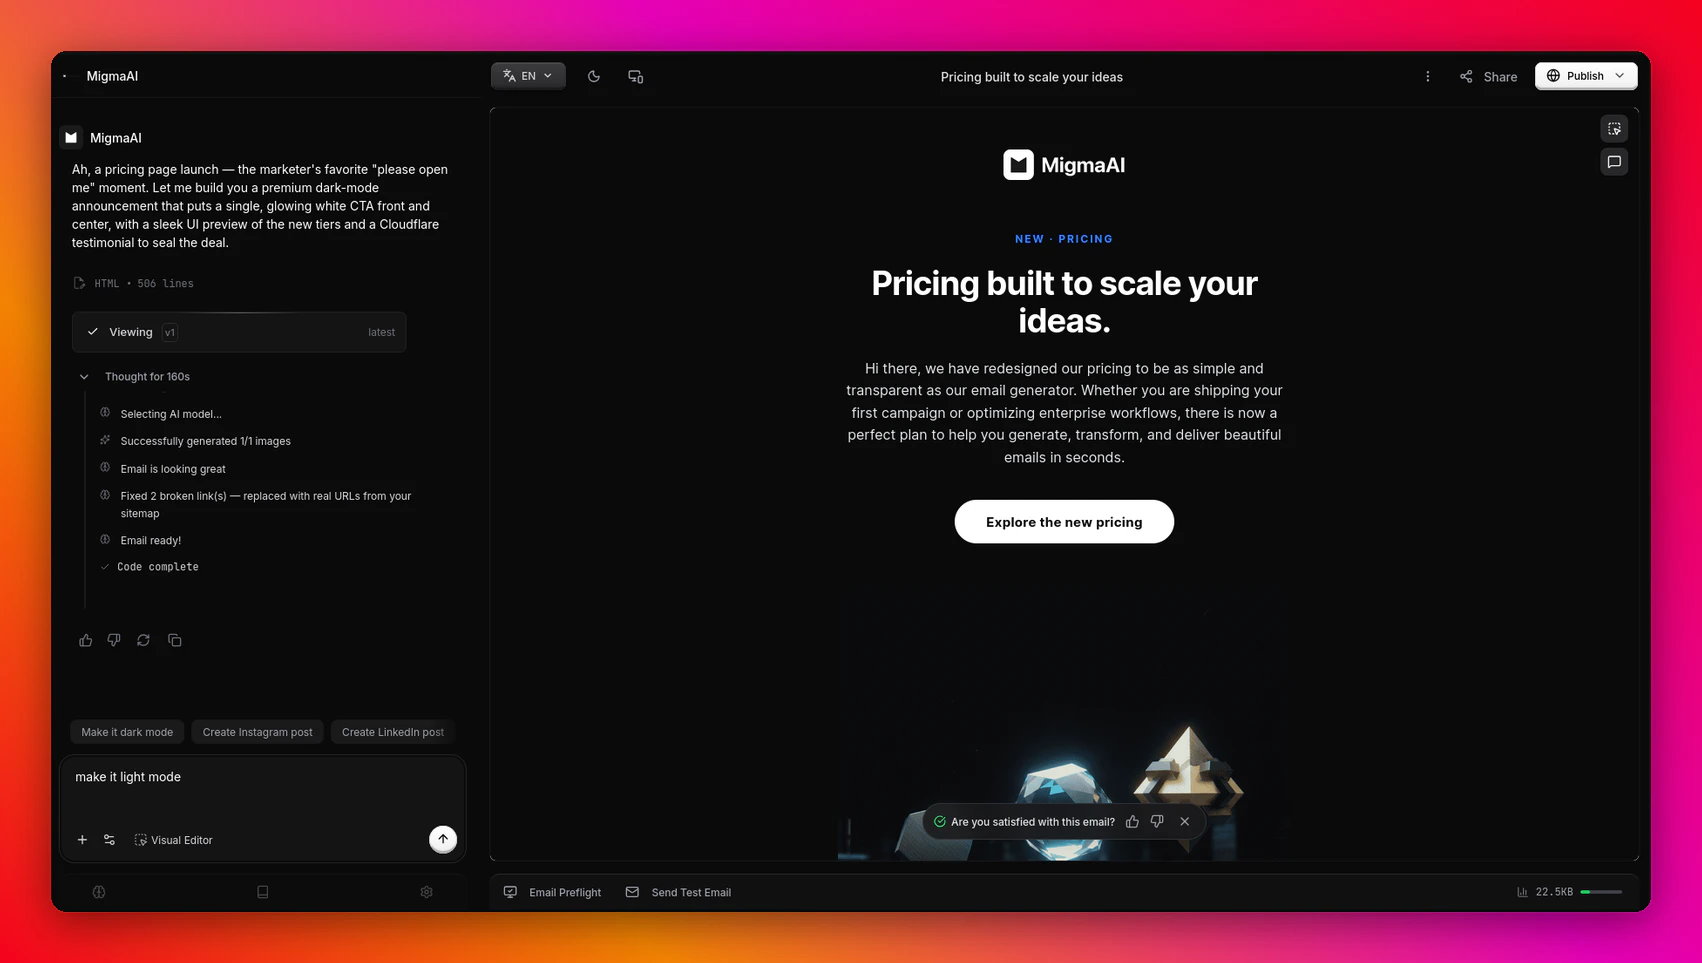
Create your first email →
Full walkthrough of prompt-based creation
What’s next
Configure brand
Fine-tune your Brand Kit
Setup wizard
Explore everything Migma can do
Send a campaign
Launch your first email to an audience
Billing & plans
Pick a plan that fits