Overview

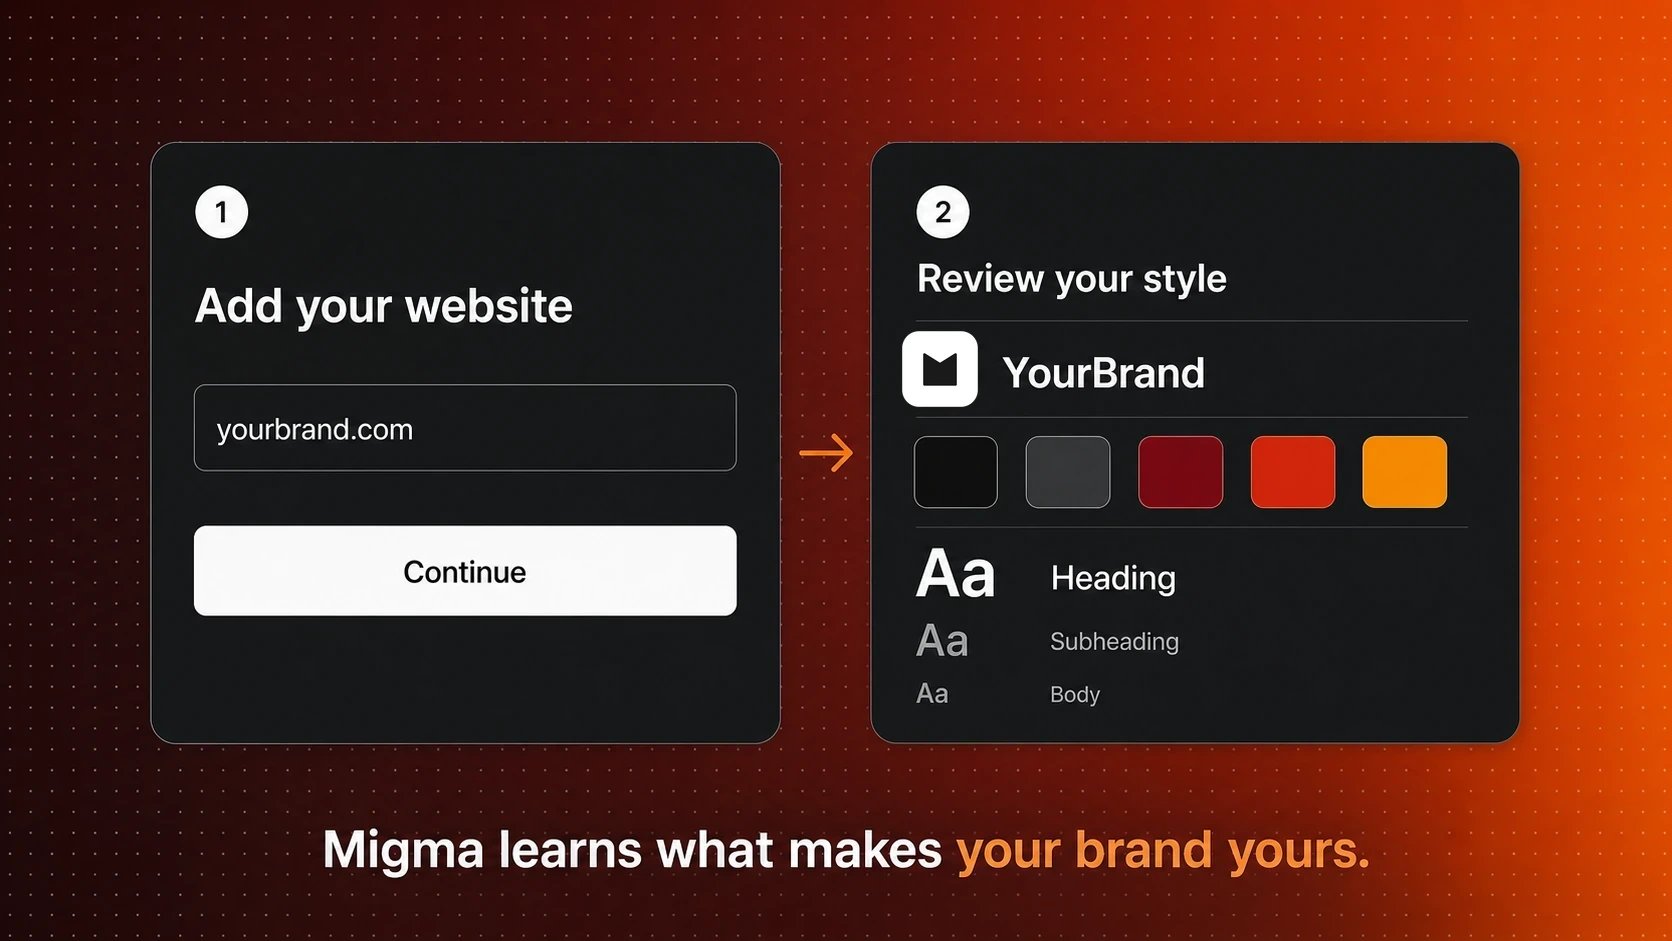
Your brand configuration is the foundation of every email Migma generates. Import your brand identity automatically from your website, or configure it manually with complete control over every element.

One-Click Import

Extract everything from your website URL in seconds

Auto-Detection

AI automatically finds logos, colors, fonts, and voice

Full Customization

Fine-tune every element after import

The fastest way to set up your brand is to let Migma extract everything automatically from your website.

What Gets Imported

Migma extracts:
  • Primary logo (from header/homepage)
  • Secondary logo variations
  • Favicon
Supported formats: SVG, PNG, JPG, WebP
Migma intelligently finds the highest quality versions and removes backgrounds automatically.
Migma detects:
  • Primary brand color
  • Secondary/accent colors
  • Full color palette (up to 10 colors)
  • Color usage patterns
How it works: AI analyzes your website’s CSS, images, and visual hierarchy to identify your core brand colors.
Migma identifies:
  • Heading font family
  • Body text font family
  • Font weights and styles
  • Font fallbacks
Google Fonts supported: Migma automatically includes Google Fonts in email-safe format.
Migma analyzes:
  • Website copy and messaging
  • Tone and personality
  • Brand values and positioning
  • Writing style patterns
Result: AI learns how to write in your brand’s voice for email copy.
Migma captures:
  • Design patterns and layouts
  • Button styles
  • Spacing and typography scale
  • Component aesthetics
Usage: Informs email layout and design choices.
Dynamic email styles

Dynamic styles automatically match your website's design system

Migma analyzes:
  • Relevant About, product, pricing, news, and contact pages
  • Company facts, products, positioning, and differentiators
  • Headline, body-copy, and CTA patterns
  • Footer structure, contact details, social links, and trust signals
  • Recurring icon, illustration, and emoji usage when present
Useful findings are saved under Brand Guidelines and guide future email copy and design. Migma also researches recent public brand and industry updates in the background and keeps one dated summary current. Anything you add to Brand Guidelines yourself stays untouched.

Step-by-Step: Import Your Brand

1

Navigate to Projects

Go to Projects from the main navigation menu
2

Create New Project

Click “New Project” or “Import Brand” button
3

Enter Website URL

Input your company website URL (e.g., https://yourcompany.com)
Use your homepage URL for best results. Migma will crawl multiple pages.
4

Start Import

Click “Import Brand” to begin automatic extraction
5

Wait for Processing

Import typically takes 30-60 seconds. You’ll see progress indicators for each step:
  • 🔍 Analyzing website…
  • 🎨 Extracting colors and fonts…
  • 📸 Processing logos…
  • ✍️ Learning brand voice…
6

Review Results

Once complete, review the extracted brand elements
7

Make Adjustments

Fine-tune any elements that need correction (optional)
8

Save Project

Click “Save Project” to finalize your brand configuration
Import Failed? If import fails:
  • Ensure your website is publicly accessible
  • Try your homepage instead of a subpage
  • Check that your website doesn’t block crawlers
  • Use manual configuration as an alternative

Method 2: Manual Brand Configuration

Prefer to configure everything manually? You have complete control over every brand element.

Creating a Project Manually

1

Go to Projects Page

Navigate to Projects from the main menu
2

Create New Project

Click “New Project”“Manual Setup”
3

Enter Basic Information

Required fields:
  • Project name
  • Company name
  • Industry/category
  • Website URL (optional)
4

Configure Brand Elements

Follow the sections below to set up each element

Upload Logos

Upload your logo files to use in email headers and footers. Logo Types: Best Practices:
  • Use PNG with transparent backgrounds
  • Minimum width: 200px for primary logo
  • Maximum file size: 2MB per logo
  • SVG format for sharpest quality

Define Color Palette

Set your brand colors that will be used throughout your emails. Color Configuration:
Your main brand color, used for:
  • CTA buttons
  • Links
  • Headers and accents
  • Important elements
Tip: Choose your most recognizable brand color
How to Add Colors:
  1. Click on the color picker
  2. Enter hex code (e.g., #6D28D9) or use the visual picker
  3. Name your color (e.g., “Brand Purple”, “Accent Green”)
  4. Add additional colors as needed
Accessibility: Migma automatically checks color contrast ratios and warns if text readability might be an issue.

Configure Typography

Choose fonts that match your brand identity. Font Selection:
Used for email subject lines, h1, h2, h3 headingsOptions:
  • Google Fonts library (500+ fonts)
  • Web-safe fallback fonts
  • Custom font URLs (advanced)
Popular choices: Montserrat, Poppins, Playfair Display, Roboto, Inter
Choose a font that’s bold and readable at various sizes
Used for paragraphs, lists, and general text contentOptions:
  • Google Fonts library
  • Web-safe fallback fonts
  • Custom font URLs (advanced)
Popular choices: Open Sans, Lato, Roboto, Inter, Source Sans Pro
Prioritize readability over style for body text
Email Client Compatibility: Not all email clients support custom fonts. Migma automatically includes fallback fonts (Arial, Helvetica, sans-serif) for maximum compatibility.

Set Brand Voice & Personality

Define how Migma should write email copy in your brand’s voice. Voice Configuration Options:
Describe your brand’s personality in a few sentences:Example:

Add Style Guidelines

Provide additional style guidelines for email design. What to Include:
Example Style Guidelines:

Configure Email Settings

Set up default email configuration for your project.
Configure:
  • Default “From” name (e.g., “Migma Team”)
  • Default “From” email (e.g., “hello@migma.ai”)
  • Default reply-to email
  • BCC email (optional, for tracking)
These defaults are used unless you override them for specific emails.
Required for CAN-SPAM compliance:
  • Company legal name
  • Physical mailing address
  • City, State, ZIP Code
  • Country
This information appears in email footers. U.S. law requires a physical address in all commercial emails.

Advanced Configuration

Add Brand Guidelines

Add brand guidelines to help AI understand your products, services, and key messages. What to Add:

Product Information

Names, descriptions, features, benefits, pricing

Company Info

History, mission, values, team, locations

Key Messages

Value propositions, positioning, differentiators

FAQs

Common questions and answers
Format:

Upload Reference Images

Add images that represent your brand visually. Image Types:
  • Product screenshots
  • Marketing materials
  • Website screenshots
  • Brand photography
  • Design mockups
Why: Helps AI understand your visual style and can be included in generated emails.

Add Custom CSS

For advanced users: Add custom CSS to fine-tune email styling. Use Cases:
  • Custom button styles
  • Specific spacing adjustments
  • Unique design patterns
  • Brand-specific components
Example:
Email Client Compatibility: Not all CSS is supported in all email clients. Test your custom CSS thoroughly.

Managing Projects

Edit Existing Projects

1

Go to Projects

Navigate to the Projects page
2

Select Project

Click on the project you want to edit
3

Modify Settings

Update any configuration elements
4

Save Changes

Click “Save” to apply updates
Changes apply to new emails immediately. Existing emails are not affected.

Set Default Project

If you have multiple projects, set which one is used by default:
  1. Go to Projects page
  2. Find your preferred project
  3. Click the ⭐ Set as Default button
Now this project will be pre-selected when creating emails.

Archive Projects

Keep your projects list clean by archiving unused projects:
  1. Open the project you want to archive
  2. Click SettingsArchive Project
  3. Confirm archiving
Note: Archived projects can be restored anytime from the Projects page → “Archived” tab.

Best Practices

Always try automatic import first. It’s faster and captures nuances you might miss manually. You can always refine afterwards.
The more specific you are about brand voice, the better AI generates copy. Include examples and be detailed.
Upload the highest quality logos possible. Use PNG with transparent backgrounds or SVG for best results.
Ensure your color choices have good contrast for accessibility. Use Migma’s built-in contrast checker.
Keep your brand guidelines current with new products, features, and messaging. This helps AI stay accurate.

Troubleshooting

Common causes:
  • Website is behind authentication/login
  • Website blocks crawlers (robots.txt)
  • Website has no accessible styling (headless CMS)
Solution: Use manual configuration or contact support
Why: AI might pick colors from images or background elementsSolution: Manually override the colors in brand settings under Visual IdentityColors & Styling
Common causes:
  • Logo file too large (over 2MB)
  • Logo URL is private/inaccessible
  • Logo format not supported
Solution: Re-upload in PNG or SVG format, ensure public URL
Why: Not all web fonts work in email clientsSolution: Choose the closest Google Font alternative or use web-safe fallbacks

Next Steps

Create Your First Email

Now that your brand is configured, create your first email

Explore Creation Methods

Learn all the ways to create emails in Migma

Manage Projects

Detailed guide on project management

API Integration

Integrate brand import via API

Need Help?

Join Discord

Get help from our community

Contact Support

Reach out to our team

API Docs

Programmatic brand management