

Adding contacts
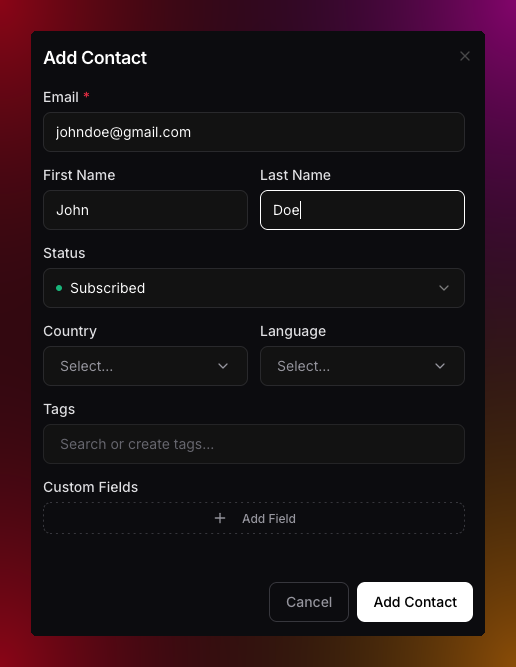
One at a time:- Go to Audience in the left sidebar
- Click Add Contact then Single Contact
- Enter their email address and name
- Add any lists you want
- Hit Save
- Go to Audience in the left sidebar
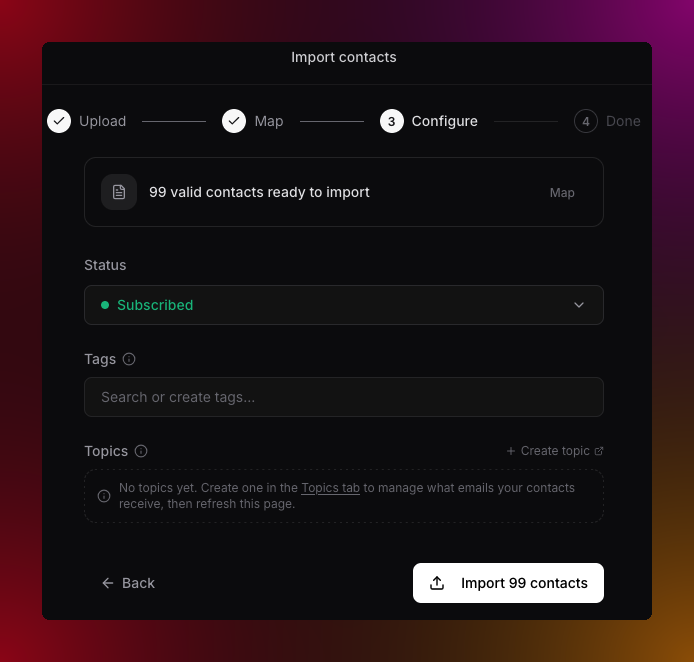
- Click Add Contact then Bulk Import
- Upload your CSV file
- Map the columns to the right fields
- Optionally apply lists to everyone being imported
- Hit Import
CSV Upload Guide
Full guide with column mapping and error handling
Import contacts from a CSV file
You can import a CSV either from the dashboard or through the API. Both paths upload the file, map its columns to contact fields, and process the import as a background job — so a large file never blocks you.From the dashboard
1
Upload your CSV
In Audience, click Add Contact then Bulk Import and choose your file.
2
Map the columns
Match each CSV column to a contact field. Only Email is required — everything else (name, phone, country, language, custom fields) maps when a column is present.
3
Confirm
Optionally apply lists to everyone in the file, then confirm. The import runs in the background.
Through the API
Upload the CSV toPOST /v1/contacts/imports as multipart/form-data. The file is stored and processed in the background, so the response returns immediately with an import id. Poll GET /v1/contacts/imports/{id} for the status and counts.
The endpoint needs an API key with the audience:write permission (audience:read to poll). The columnMap is a JSON string mapping contact fields to your CSV header names — only email is required.
From MCP or ChatGPT
Callmigma_create_contact_import once with the full CSV text and an optional list tag. Column mapping is optional when headers look like email, first name, or last name. The tool can wait and return final counts in the same turn. Prefer this over converting CSV rows into a JSON bulk import.
See MCP Server.
Node.js SDK
cURL
Contacts API Reference
Full request and response schema for the import endpoints
Import from an integration
If your contacts already live in Mailchimp, Klaviyo, or HubSpot, you can import them directly instead of exporting a CSV first. Click Add Contact then Import from integration, choose the provider, and pick the audience, list, segment, or tag to bring over. The import runs in the background and shows up in Import History with the provider, source, consent mode, and final counts. Imports preserve consent: by default only subscribed contacts are imported, contacts without clear marketing permission stay non-sendable, and existing unsubscribed or bounced contacts are never resubscribed. Every import also creates a source list and a matching saved segment, so the imported audience is ready to target right away. Through the API or MCP, list sources withGET /v1/contacts/imports/providers/{provider}/sources, start the job with POST /v1/contacts/imports/provider, and poll GET /v1/contacts/imports/{id} for status and counts. Agents can use migma_list_provider_import_sources and migma_import_contacts_from_provider. See the Contacts API reference for request and response details.
Mailchimp
Import audiences, saved segments, and tags.
Klaviyo
Import lists and segments.
HubSpot
Import contact lists with conservative consent handling.
Finding and filtering contacts
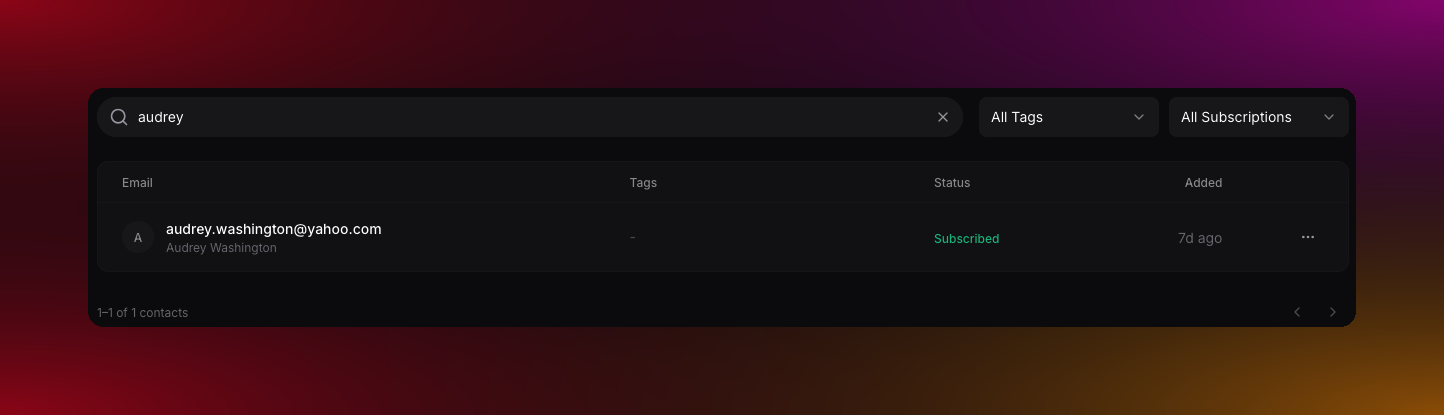
Use the search bar to find someone by name or email. Use the filters to narrow down by status or list.- Status filters: subscribed, unsubscribed, non-subscribed, bounced
- List filters: pick one or more lists to show contacts that have any of them
Editing a contact
Click any contact row to open their detail view. From there you can update their name, email, lists, subscription status, and any custom fields you have set up. Custom fields are great for storing extra data like company name, plan type, or account ID. You can use them in segments to build targeted groups and reference them in email templates as dynamic variables.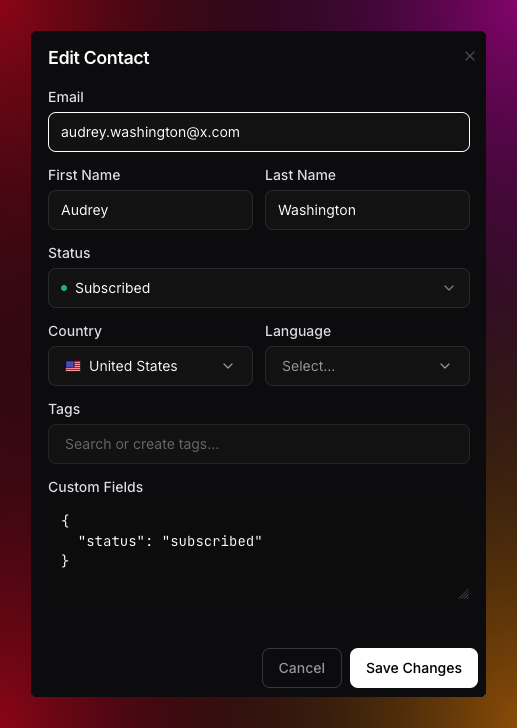
Bulk actions
Select multiple contacts using the checkboxes, then use the bulk action bar to update them all at once. You can bulk update status, add or remove lists, change country or language, and update custom fields. You can also bulk delete contacts permanently.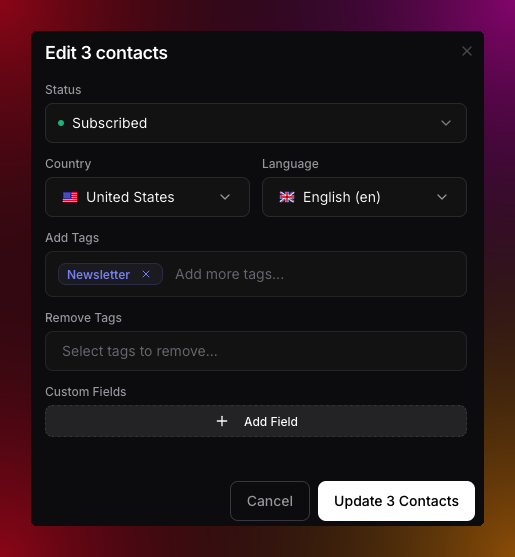
What do you want to do next?
Lists and segments
Group your contacts to target the right people.
CSV upload
Full guide to importing contacts from a spreadsheet.
Send a campaign
Send an email to your contacts.
Preference center
Let subscribers choose what they hear from you.