

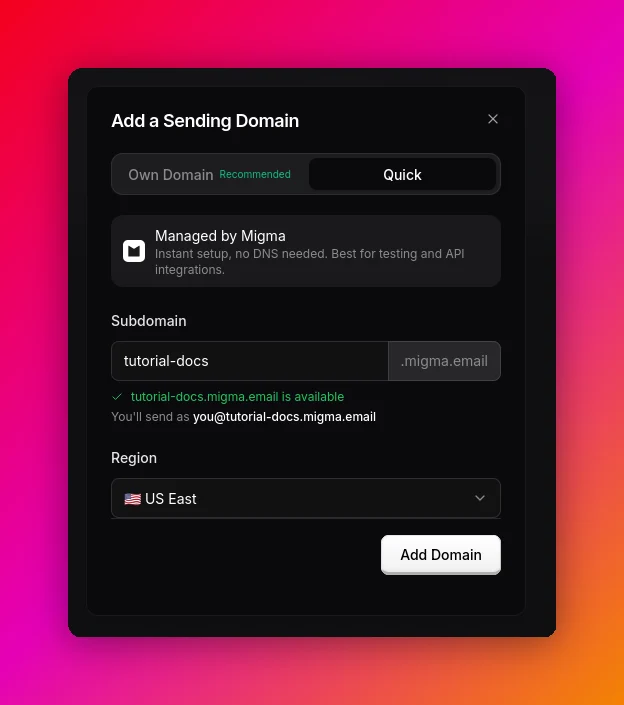
1. Quick (migma.email)
Type a name and you get<yourname>.migma.email instantly. No DNS, no waiting. Great for testing and quick integrations.
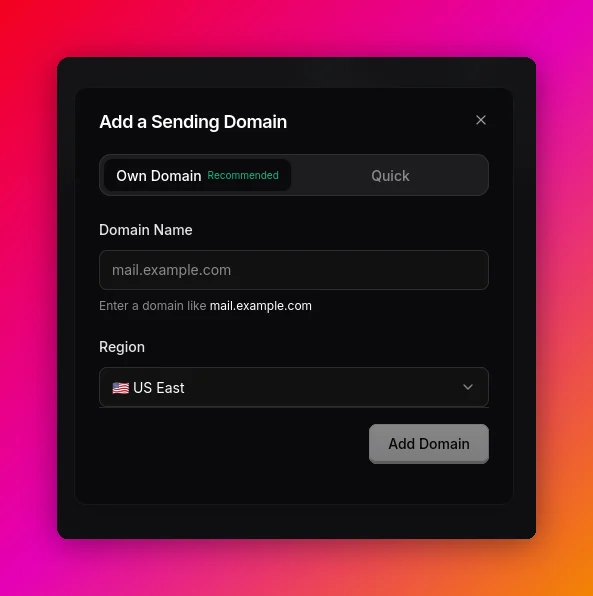
2. Custom domain
Send from your own address likeyou@yourcompany.com. Type your root domain, then click Add Domain. Migma assigns the sending region automatically.
1
Open Sending Domains
In Migma, go to Sending Domains.
2
Choose Custom Domain
Click Add Domain, choose Custom, then enter the domain you want to send from.Examples:
yourcompany.commail.yourcompany.comupdates.yourcompany.com
3
Add the domain
Add the domain. Migma automatically assigns the sending region.
3. Add the DNS records
After you add a custom domain, Migma shows every record you need to create. Keep this table open and copy each value directly into your DNS provider.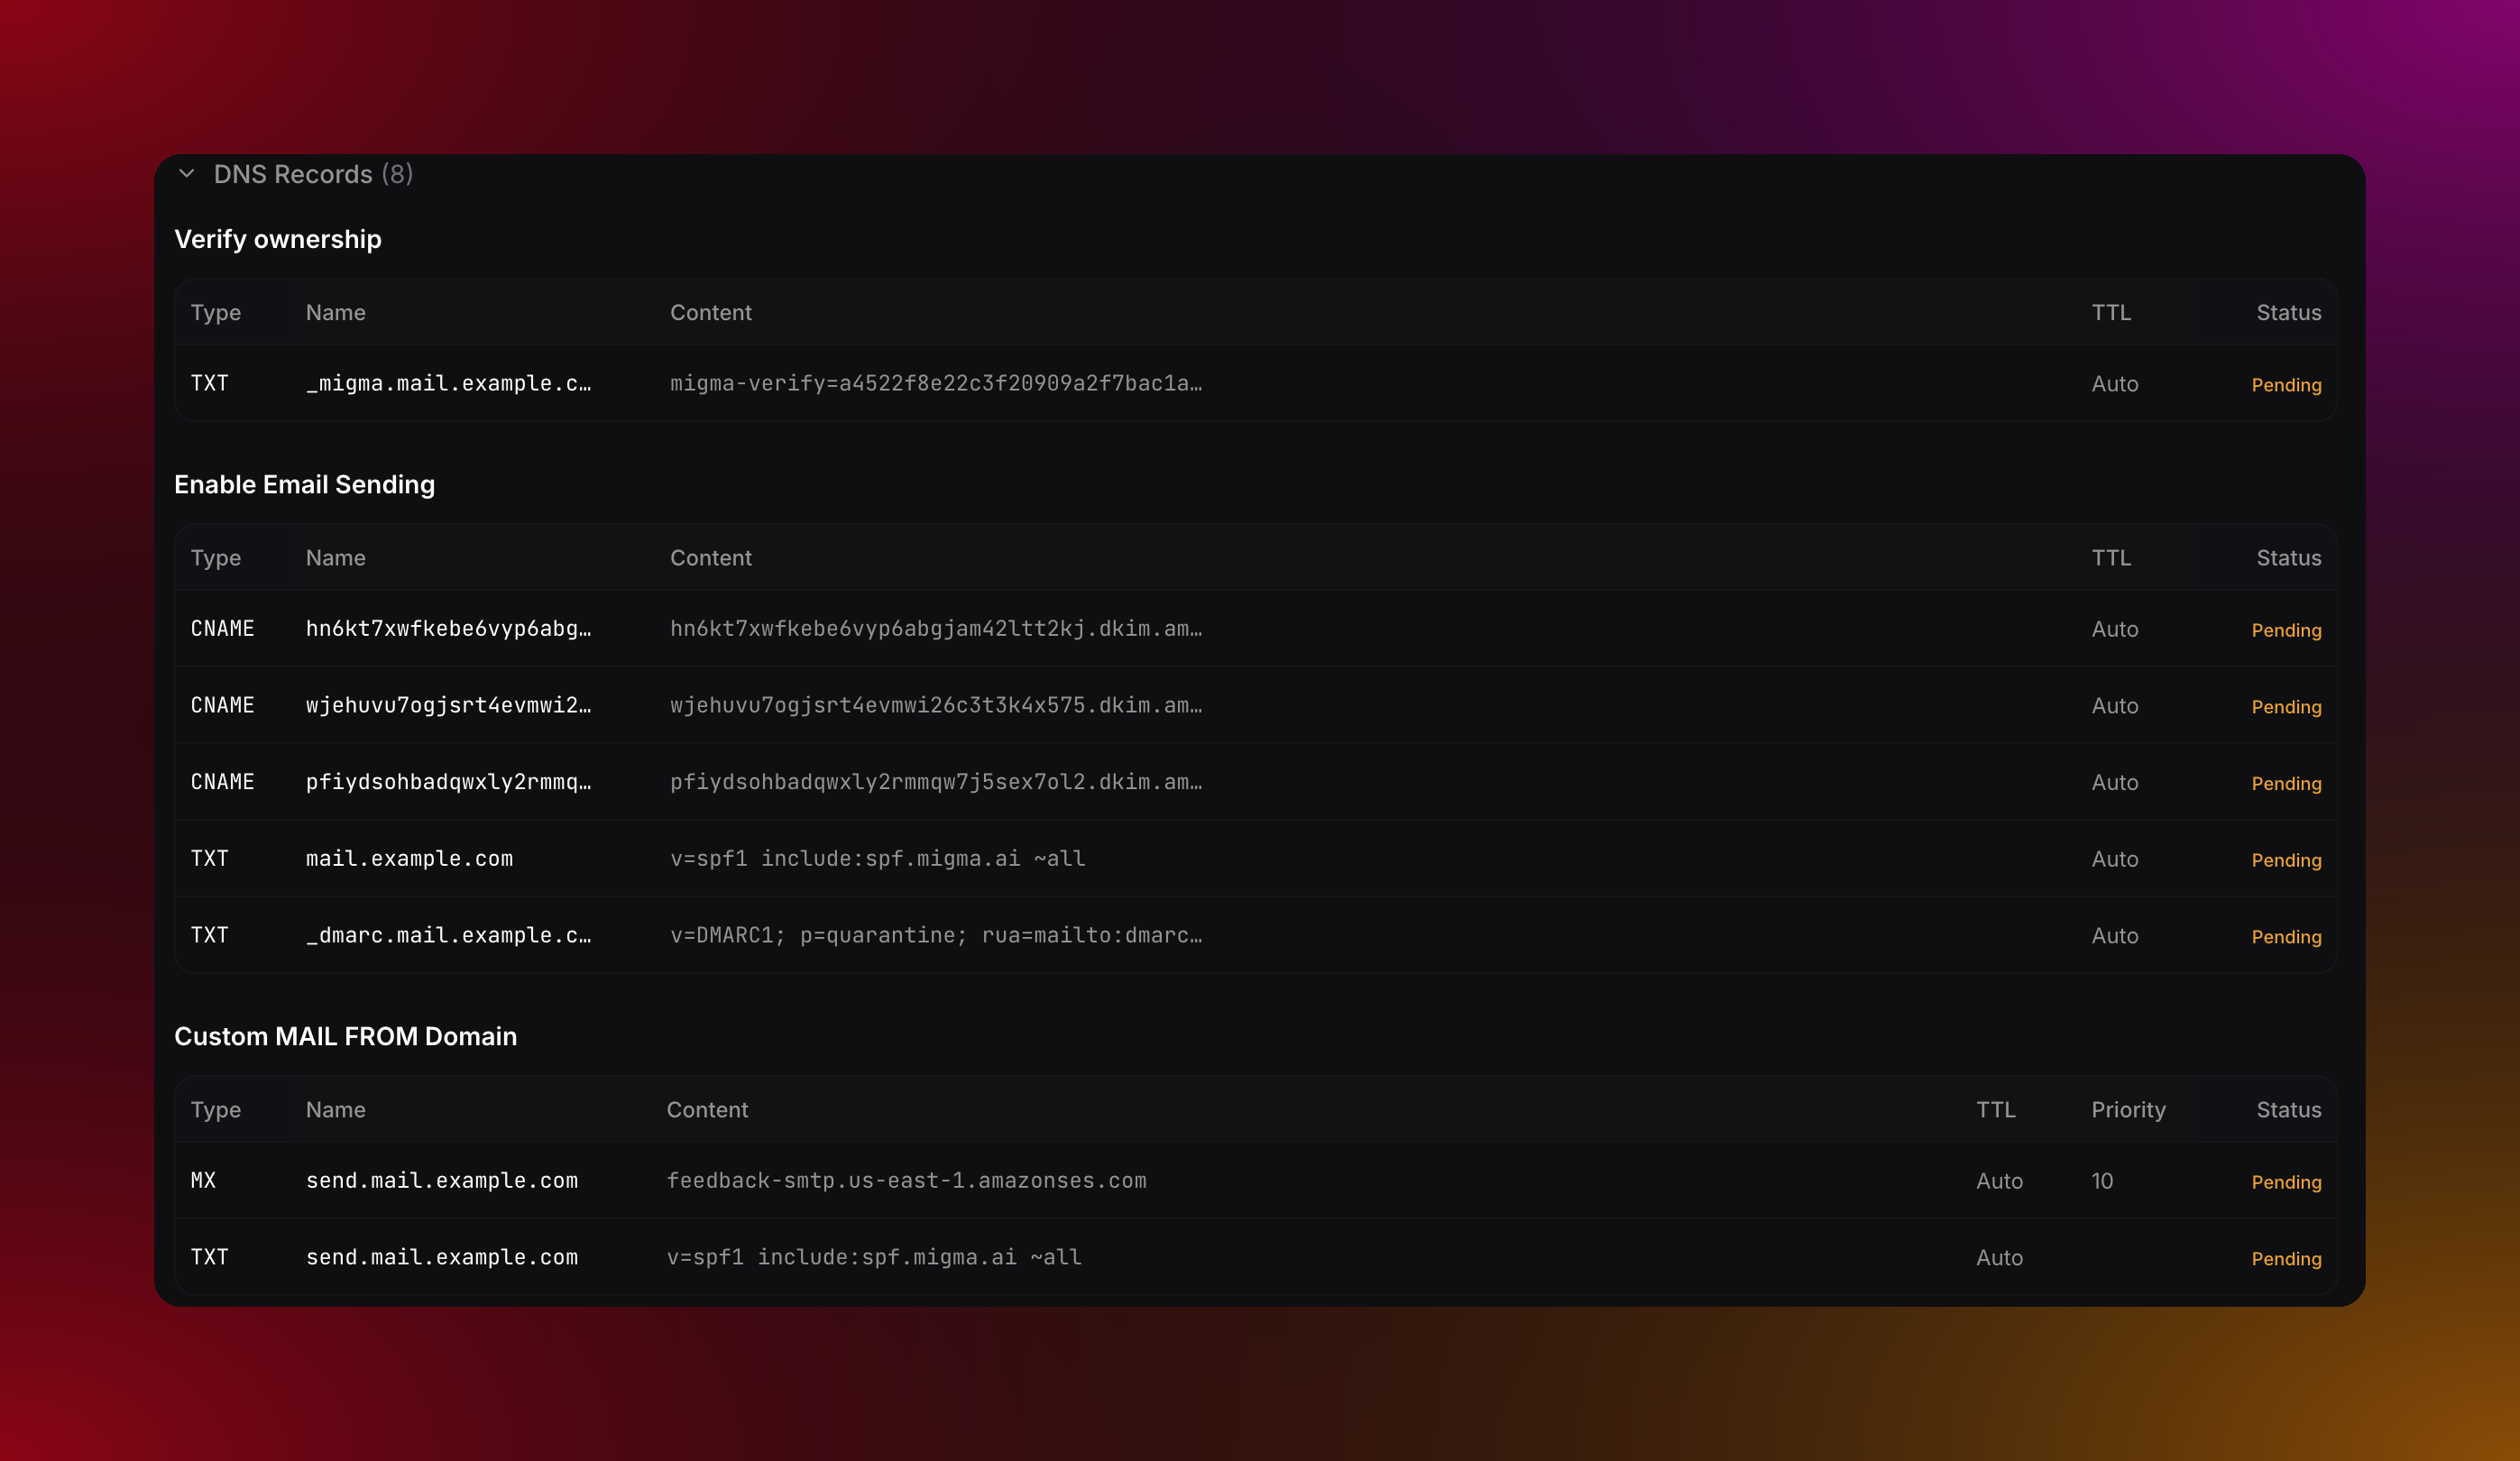
Copy the DNS records from the domain setup table
1
Add the ownership TXT record
Create a TXT record with the Migma verification value, such as
migma-verify=....2
Add the three DKIM CNAME records
Create all three CNAME records. The names contain
_domainkey, and the targets end in dkim.amazonses.com.In Cloudflare, set DKIM CNAME records to DNS only. Do not proxy them.3
Add the SPF TXT record
Create or edit the SPF TXT record for the sending domain.If there is no SPF record yet:If the domain already has SPF, keep one SPF TXT record and add Migma before the final mechanism:
4
Add the DMARC TXT record
Create the
_dmarc TXT record exactly as Migma shows it.5
Add the MAIL FROM MX record
Create the MX record for the MAIL FROM hostname, usually
send under your sending domain.- Priority:
10 - Mail server: copy the Migma value, such as
feedback-smtp.eu-west-1.amazonses.com
6
Add the MAIL FROM SPF TXT record
Create the TXT record on the same MAIL FROM hostname.
4. Verify in Migma
After saving the DNS records, return to Migma and check the domain.1
Wait a few minutes
Most DNS providers publish updates within 5-60 minutes. Some records can take longer.
2
Open the domain menu
In Sending Domains, open the action menu for the domain.
3
Click Check DNS
Migma checks each record and updates the status.
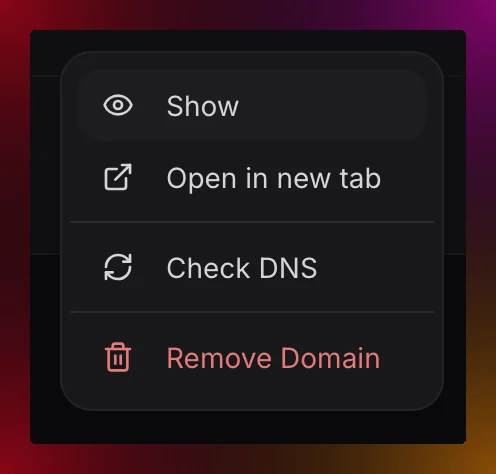
Use Check DNS to re-check the records after they are added
For per-provider field labels (Cloudflare, Route 53, GoDaddy, Namecheap) and troubleshooting, see the full Add DNS Records guide.