> ## Documentation Index
> Fetch the complete documentation index at: https://docs.migma.ai/llms.txt
> Use this file to discover all available pages before exploring further.
# Visual Email Editor
> Click into any part of your email to edit it. No code needed.
Once Migma generates your email, you can click into any part of it to make changes. Text, images, buttons, colors, layout, everything is editable directly on the canvas. No code, no design tools, no exporting back and forth.
***
## Opening the editor
After Migma generates your email, it appears in the chat as a preview.
1. Click on the email preview to open it
2. Look for the **cursor icon** in the top right corner of the email body
3. Click it to enter edit mode
 Once you are in edit mode, click any element on the canvas to start editing it.
***
## Editing your email
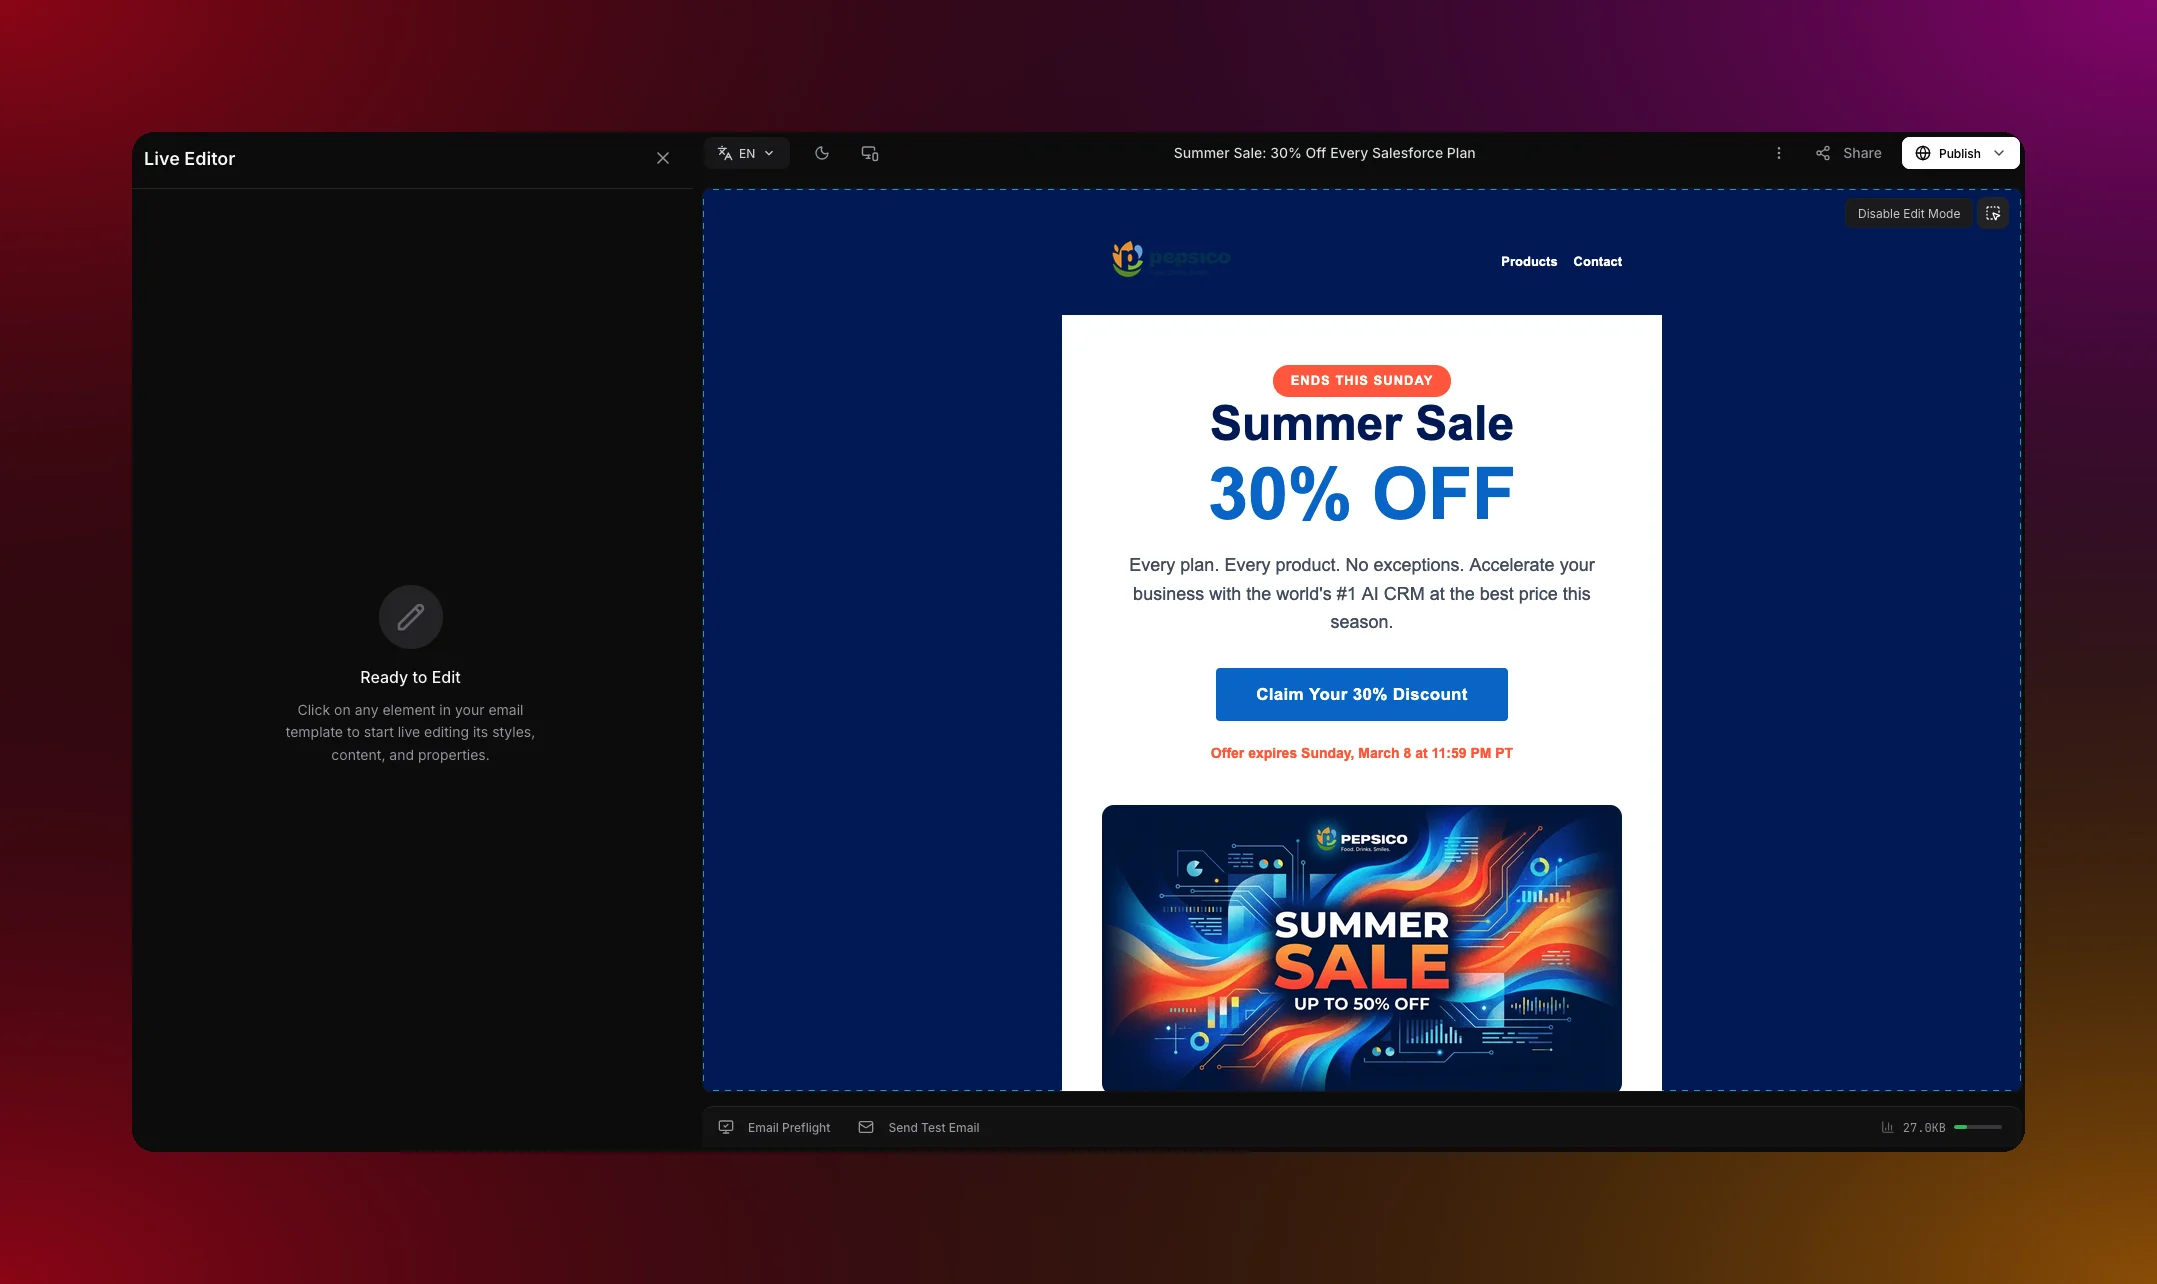
Click any element in the preview to select it. A panel opens on the right where you can make your changes.
Once you are in edit mode, click any element on the canvas to start editing it.
***
## Editing your email
Click any element in the preview to select it. A panel opens on the right where you can make your changes.
 ***
## What you can edit
**Text** — Click any text block to edit the copy inline. Change the font, size, weight, color, and alignment from the right panel.
**Images** — Click an image to replace it, adjust the size, or add a link. You can upload your own image or generate one with AI.
**Buttons** — Click a button to change the label, link, color, border radius, and padding.
**Colors** — Change the background color of any section or the full email. Your brand colors are always available as quick picks.
**Layout** — Add new sections, duplicate existing ones, or drag to reorder. Each section can have one, two, or three columns.
**Links** — Click any linked element to update the URL. All links are tracked automatically when you send a campaign.
***
## Refine with AI
Not happy with a section? You can ask Migma to rewrite it without leaving the editor. Select any block and type what you want to change in the chat panel.
***
## What you can edit
**Text** — Click any text block to edit the copy inline. Change the font, size, weight, color, and alignment from the right panel.
**Images** — Click an image to replace it, adjust the size, or add a link. You can upload your own image or generate one with AI.
**Buttons** — Click a button to change the label, link, color, border radius, and padding.
**Colors** — Change the background color of any section or the full email. Your brand colors are always available as quick picks.
**Layout** — Add new sections, duplicate existing ones, or drag to reorder. Each section can have one, two, or three columns.
**Links** — Click any linked element to update the URL. All links are tracked automatically when you send a campaign.
***
## Refine with AI
Not happy with a section? You can ask Migma to rewrite it without leaving the editor. Select any block and type what you want to change in the chat panel.
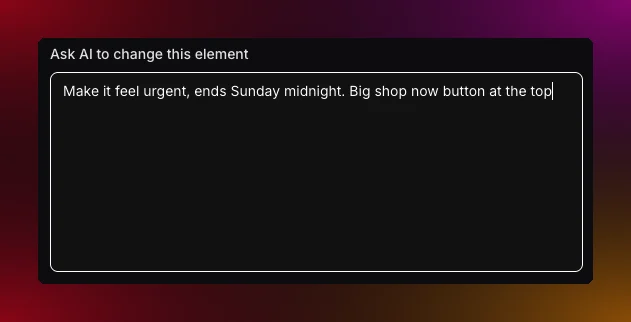 Some things you can ask:
> "Make this section shorter and more conversational"
> "Change the hero headline to focus on saving time"
> "Add a testimonial section after the features"
***
## Preview and Preflight
Before you send, check how your email looks across different devices and email clients.
**Preview** — Toggle between desktop and mobile view inside the editor.
**Preflight**: run client previews and compatibility checks, including Gmail, Outlook, and Apple Mail.
Preflight before export or send
***
## What do you want to do next?
Test across Gmail, Outlook, Apple Mail, and more.
Download HTML or send straight to your ESP.
Create on-brand visuals without a designer.
Send your finished email to your audience.
Some things you can ask:
> "Make this section shorter and more conversational"
> "Change the hero headline to focus on saving time"
> "Add a testimonial section after the features"
***
## Preview and Preflight
Before you send, check how your email looks across different devices and email clients.
**Preview** — Toggle between desktop and mobile view inside the editor.
**Preflight**: run client previews and compatibility checks, including Gmail, Outlook, and Apple Mail.
Preflight before export or send
***
## What do you want to do next?
Test across Gmail, Outlook, Apple Mail, and more.
Download HTML or send straight to your ESP.
Create on-brand visuals without a designer.
Send your finished email to your audience.