> ## Documentation Index
> Fetch the complete documentation index at: https://docs.migma.ai/llms.txt
> Use this file to discover all available pages before exploring further.
# Send Campaign
> Send your email to the right people in five simple steps.
Once you have an email ready and an audience set up, sending a campaign takes about two minutes.
Send campaigns only to contacts with **marketing consent**. See [What you can send with Migma](/get-started/what-you-can-send). Run [Email Preflight](/email-editor/email-preflight) before important sends.
1. Click **Campaigns** in the left sidebar
2. Hit **New Campaign**
3. Follow the five steps below
***
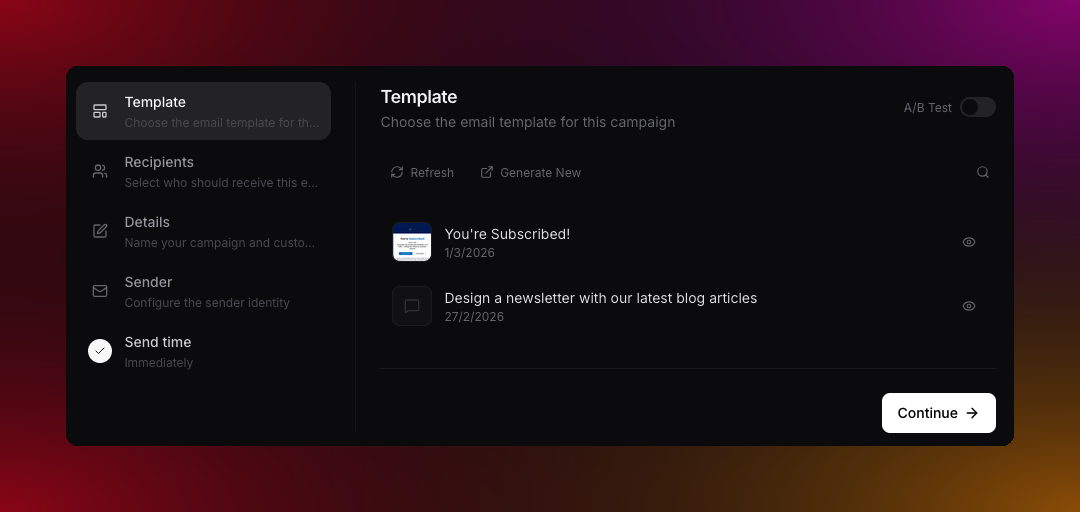
Pick an email you have already created. Click the thumbnail to preview it before selecting.
For a standard campaign, click **Generate New** if you need a new email. Migma opens the creator for this campaign's brand. Review and edit the result, then click **Use in campaign** to return with that email selected. If the design contains multiple emails, focus the one you want to use first. You can click **Back to campaign** to return without applying it. Nothing in the campaign changes until you click **Use in campaign**.
Want to test versions against each other? Switch to **A/B test**, add two to five emails, and choose what percentage of your audience joins the test. After the test sends, you pick the winner and it goes out to everyone else.
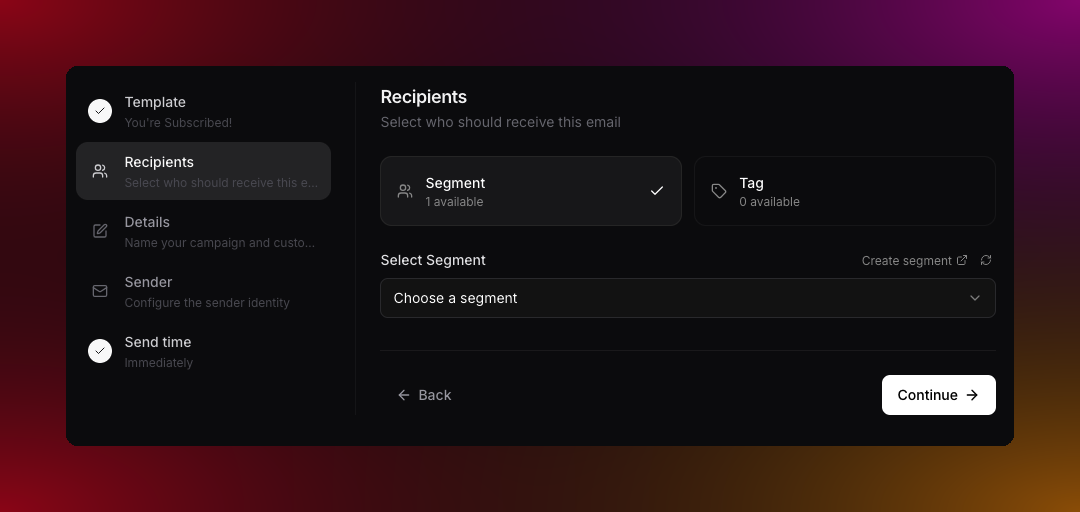
 Choose a **segment** or **list** from your audience. The recipient count updates live and shows contacts who are eligible to receive this marketing email.
Need a new segment? Choose **Create segment** in the campaign wizard. Migma drafts the filters for you to review, shows the matching contact count, and selects the saved segment automatically.
Unsubscribed, bounced, non-subscribed, and invalid contacts are excluded automatically. You do not need to filter them out yourself.
Choose a **segment** or **list** from your audience. The recipient count updates live and shows contacts who are eligible to receive this marketing email.
Need a new segment? Choose **Create segment** in the campaign wizard. Migma drafts the filters for you to review, shows the matching contact count, and selects the saved segment automatically.
Unsubscribed, bounced, non-subscribed, and invalid contacts are excluded automatically. You do not need to filter them out yourself.
 Give your campaign a name (just for your own reference)
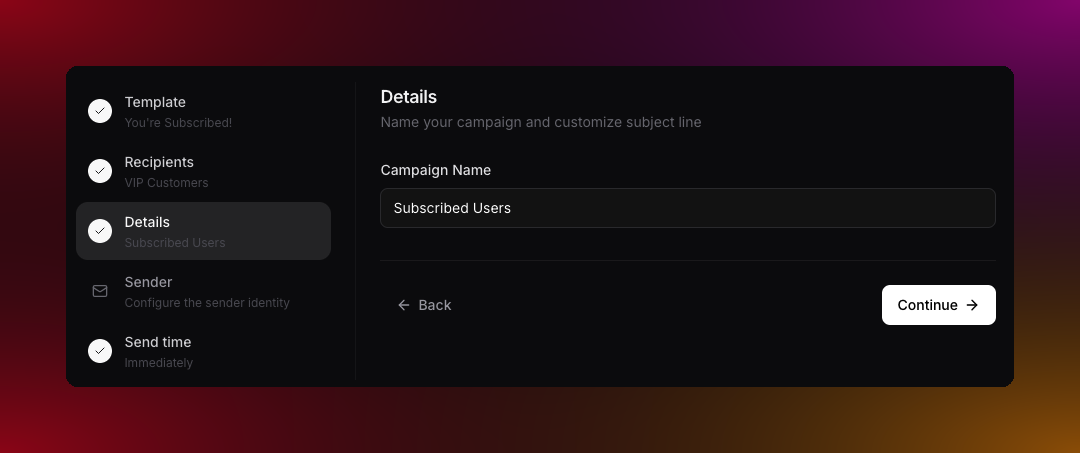 Keep subject lines under 50 characters so they do not get cut off on mobile.
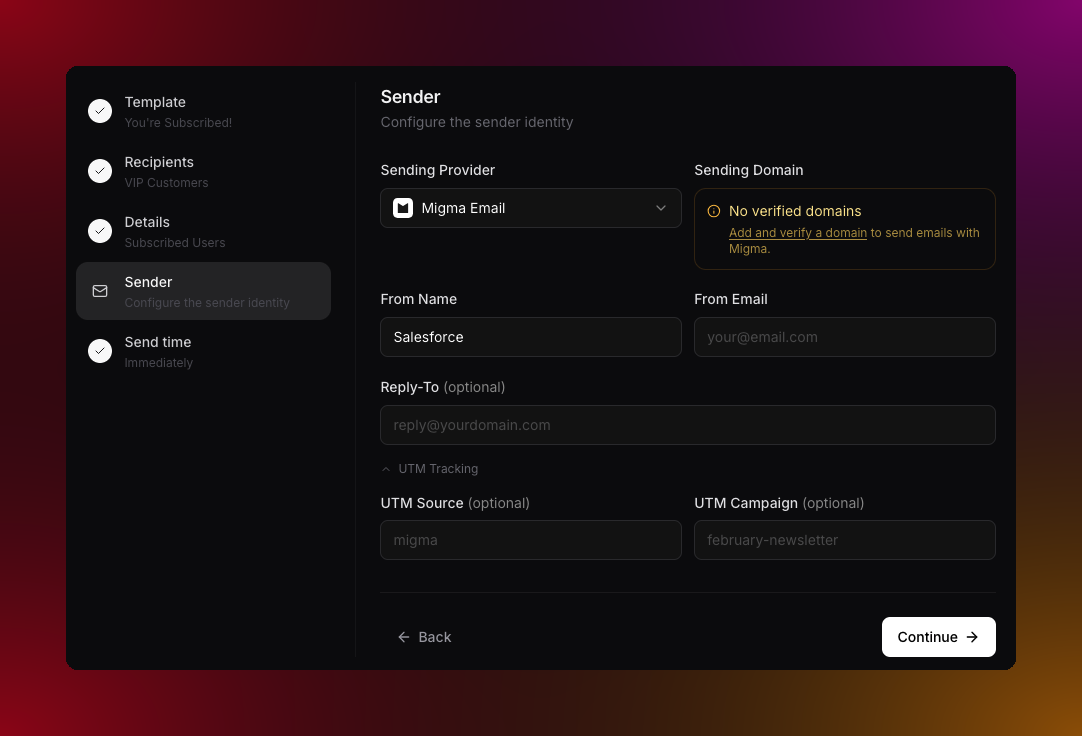
Choose your sending domain and set the from name and email address that recipients will see. Add a reply-to address if you want replies to land somewhere specific.
If you track clicks in Google Analytics or similar, set your UTM parameters here.
Keep subject lines under 50 characters so they do not get cut off on mobile.
Choose your sending domain and set the from name and email address that recipients will see. Add a reply-to address if you want replies to land somewhere specific.
If you track clicks in Google Analytics or similar, set your UTM parameters here.
 Send right away or pick a date, time, and timezone to schedule it for later. Scheduled campaigns can be cancelled or sent early from the Campaigns page.
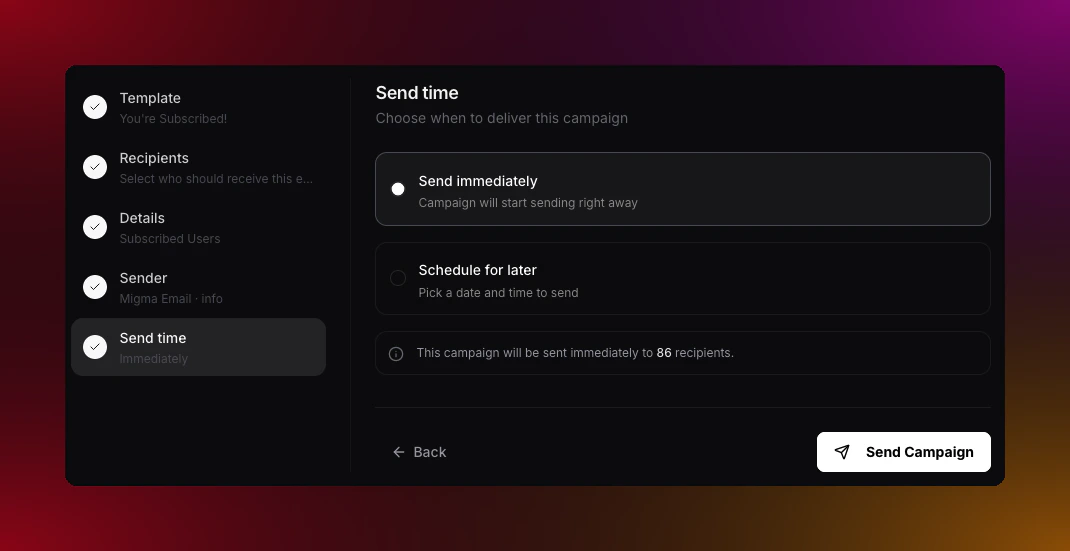 Once sent, the campaign status changes to **Sending** and live stats start coming in right away.
***
## What do you want to do next?
Open rates, clicks, bounces, and unsubscribes in one place.
Update contacts, lists, and segments.
Show your brand logo in recipients' inboxes.
Plan and schedule campaigns across the month.
Once sent, the campaign status changes to **Sending** and live stats start coming in right away.
***
## What do you want to do next?
Open rates, clicks, bounces, and unsubscribes in one place.
Update contacts, lists, and segments.
Show your brand logo in recipients' inboxes.
Plan and schedule campaigns across the month.